Running a simple test recipe
The following example describes how to employ the fridadrp-ifu_simulator
script to generate a couple of simple exposures (target and sky) and execute a
very simple reduction recipe.
Initialize the file tree
Download the following file fridadrp_initial_tree_test1.tgz
Execute the simulator
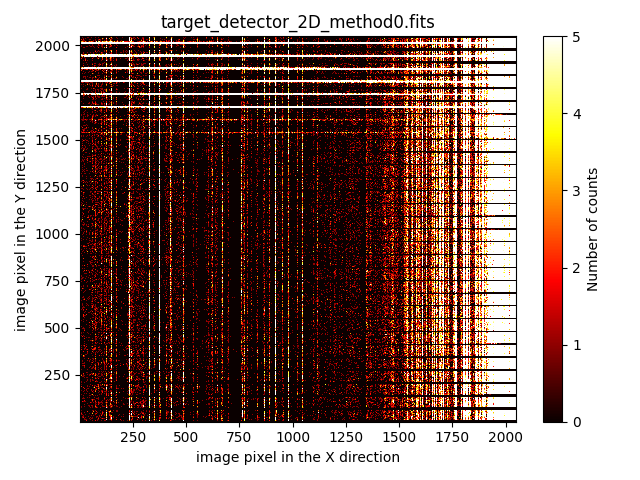
Simulate the target exposure
(venv_frida) $ fridadrp-ifu_simulator \
 --scene scene_target.yaml \
 --grating medium-K \
 --scale fine \
 --prefix_intermediate_FITS target
Copy the simulated detector image in the data/ subdirectory
(venv_frida) $ cp target_detector_2D_method0.fits data
Simulate the sky exposure
(venv_frida) $ fridadrp-ifu_simulator \
  --scene scene_sky.yaml \
  --grating medium-K \
  --scale fine \
  --prefix_intermediate_FITS sky
Copy the simulated detector image in the data/ subdirectory
(venv_frida) $ cp sky_detector_2D_method0.fits data

Running the reduction recipe
Note
Remember that the numina script is the interface with GTC pipelines.
In order to execute PyEmir recipes you should type something like:
(venv_frida) $ numina run <observation_result_file.yaml> -r <requirements_file.yaml>
where <observation_result_file.yaml> is an observation result file in
YAML format, and <requirements_files.yaml> is a requirements file, also
in YAML format.
YAML is a human-readable data serialization language (for details see YAML Syntax).
We are going to execute numina using the observation result file
test1.yaml.
(venv_frida) $ cat test1.yaml
(venv_frida) $ numina run test1.yaml -r control.yaml
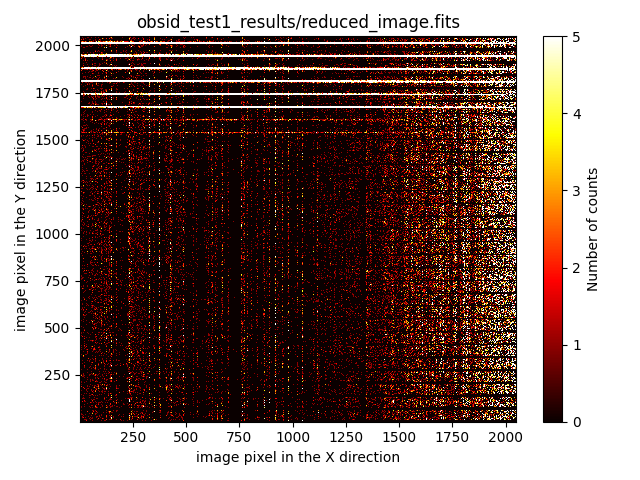
After the execution of the previous command, two subdirectories should have
appeared, with the syntax obsid<id>_<work/results>. In this particular
example, these two subdirectories are obsid_test1_work and
obsid_test1_result.
All the images (scientific and calibrations) involved in the reduction of a
particular block of the observation result file are copied into the ...work
subdirectories in order to preserve the original files. The results of the
execution of the reduction recipe are stored in the corresponding
...results subdirectory.
(venv_frida) $ tree obsid_test1_*